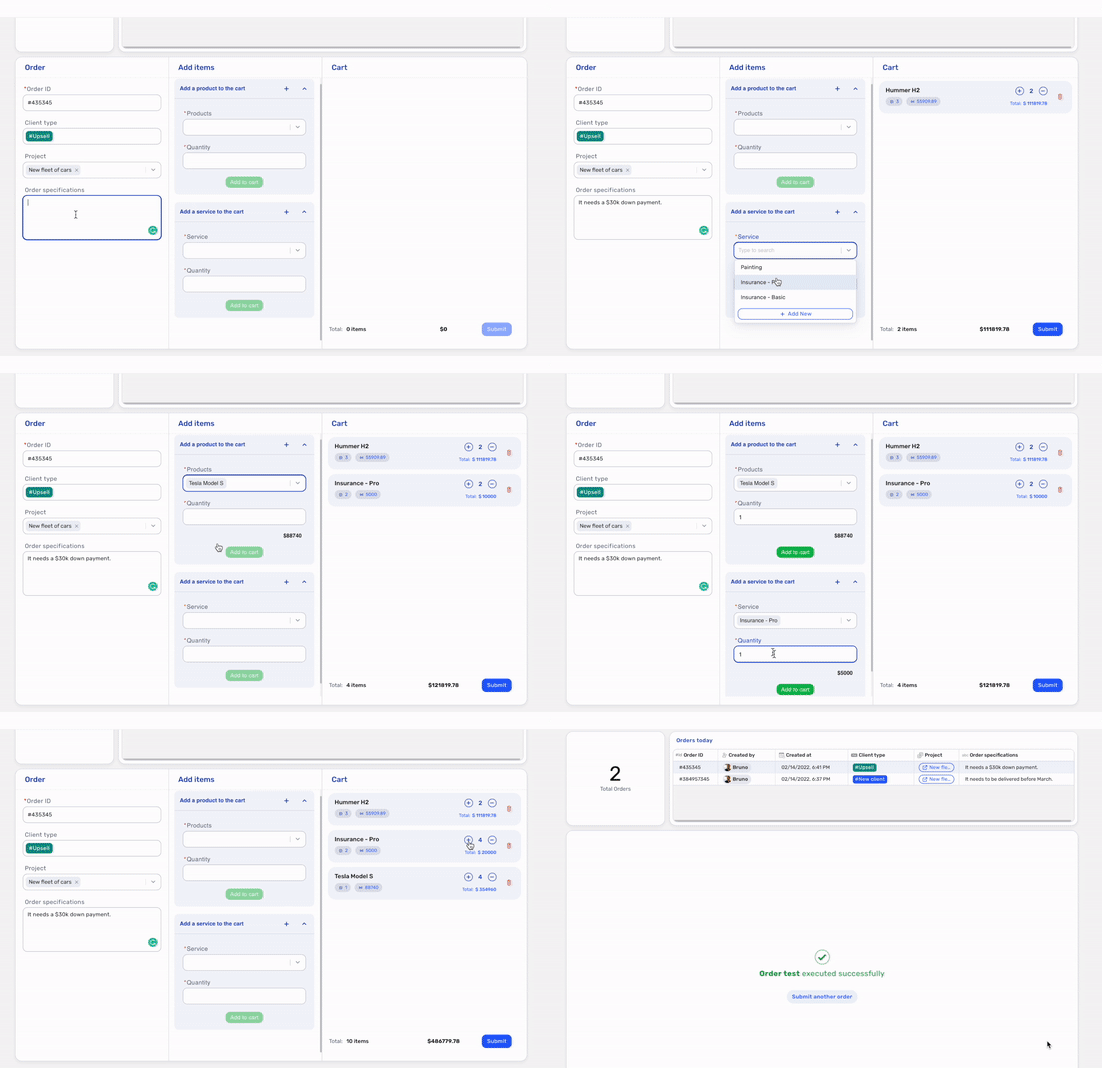
Order Generator
Create new orders just like a cart in an e-commerce

What is the Order Generator component?
With the Order Generator, you can create custom orders or quotes for services and products in your app.
- Add or remove items with a single click
- Use it on your phone or tablet to get orders from clients in person
- Create as many different checkouts as you want

How to create an Order Generator?
To create an Order Generator component:
- Go to the app you've created and click on the "+"
There are four tables you'll need to create beforehand to create an Order Generator component (three, if you're only going for Products or Services, but not both).
Those tables are:
The Order table: This table will hold the main records, which contain information regarding the order itself. For example, it could be a Sales table with info such as date, customer, and payment method. There are no required fields for this table.
This is what an Order table should look like:
The Products table: This table will hold product info.
The required fields for this table are:
- A currency field for pricing.
This is what a product table should look like:
The Services table: This table will hold service info.
The required fields for this table are:
- A currency field for pricing.
This is what a Services table should look like:
The Order Items table: This table will hold the connected information for items.
The required fields for this table are:
- A connected field pointing to the Order table.
- A connected field points to the Products table.
- A connected field points to the Services table.
- A currency field for subtotals.
- A number field for quantities.
This is what an Order Item should look like:
Now, for the component itself, go to the dashboard you've created and click on the "+ Add Component" button. That will open the creation page.
Just look for the "Order Generator" option and click on it. Choose any name you want for it.
On the first step, choose the Order table, and select the fields you wish to add to the component.
On the following step, select the Order Items table, then:
- The field in this table points to the Order table (in the example below, Sales).
- The currency field in this table will store the subtotal (in the example below, Total).
- The number field in this table that will store the quantity (in the example below, Quantity).
Next, if you're going to add products to the order, toggle the Products option, then select:
- The field in the Order Items points to the Products table (in the example below, Product).
- The currency field in the Products table has the unitary price of the product (in the example below, Price).
Finally, if you're going to add services to the order, toggle the Services option, then select:
- The field in the Order Items points to the Services table (in the example below, Service).
- The currency field in the Services table has the unitary price of the service (in the example below, Price).
Once you've finished the steps above, just click on Create. And there you go: you have a working Order Generator component that you can use for internal requests, as a shopping cart, and a lot of other uses you may have in your company!
Updated 3 months ago
