Create Insertion Order (BR Standard)
Creates a PDF of an Insertion Order in the Brazilian Standard.

With the action “Create Insertion Order (BR Standard)”, you can create a PDF of an Insertion Order in the Brazilian Standard automatically when the chosen trigger is activated.
Trigger -> ActionThe most important thing about a trick is understanding its conditions and actions. They have a simple generic structure:
When the condition (trigger) happens, then do (action).
Trigger -> Action
How to create
You just have to click on the "+ Automations" icon on the upper right corner of the screen to open the No code automations panel, and then on the "+ Create new automation" button:

Select the trigger of your choice to activate the action, then select the "Create Insertion Order (BR Standard)" action, and fill in the options:
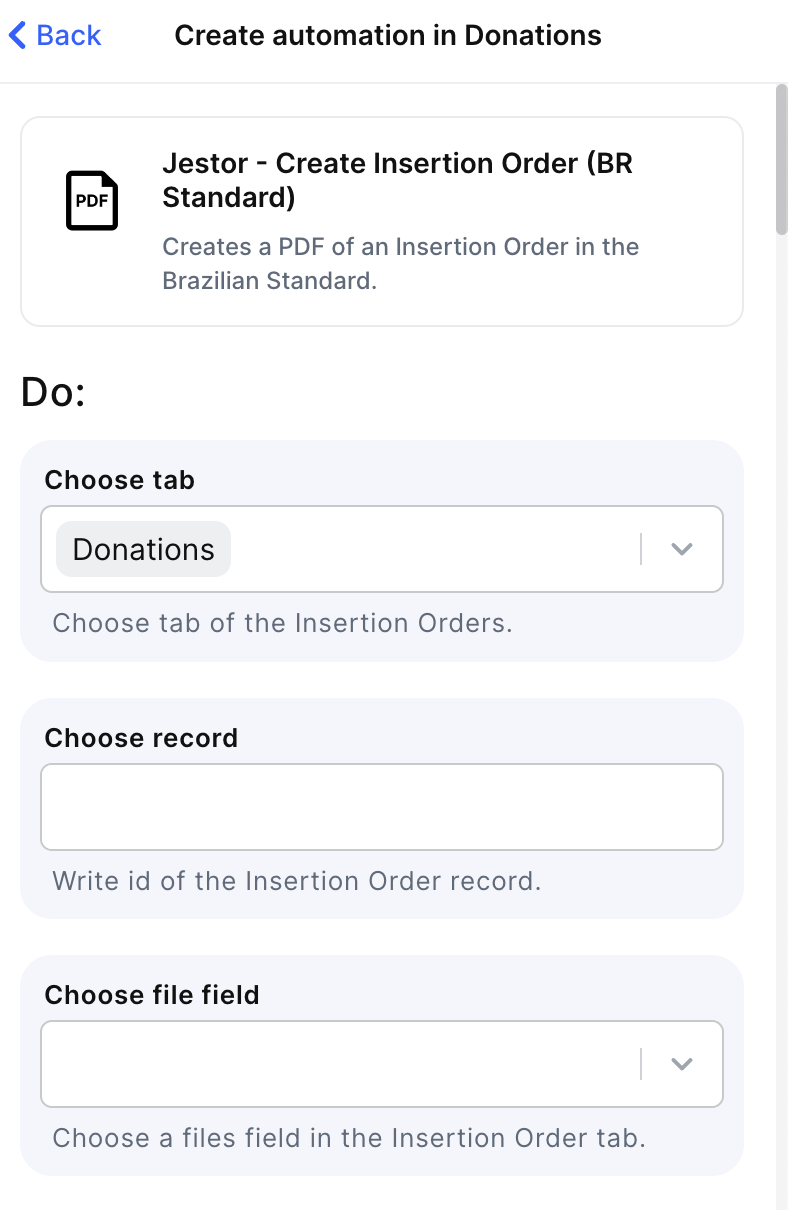
- Choose tab:
- Choose tab of the Insertion Orders.
- Choose record:
- Write id of the Insertion Order record.
- Choose file field:
- Choose a files field in the Insertion Order tab.
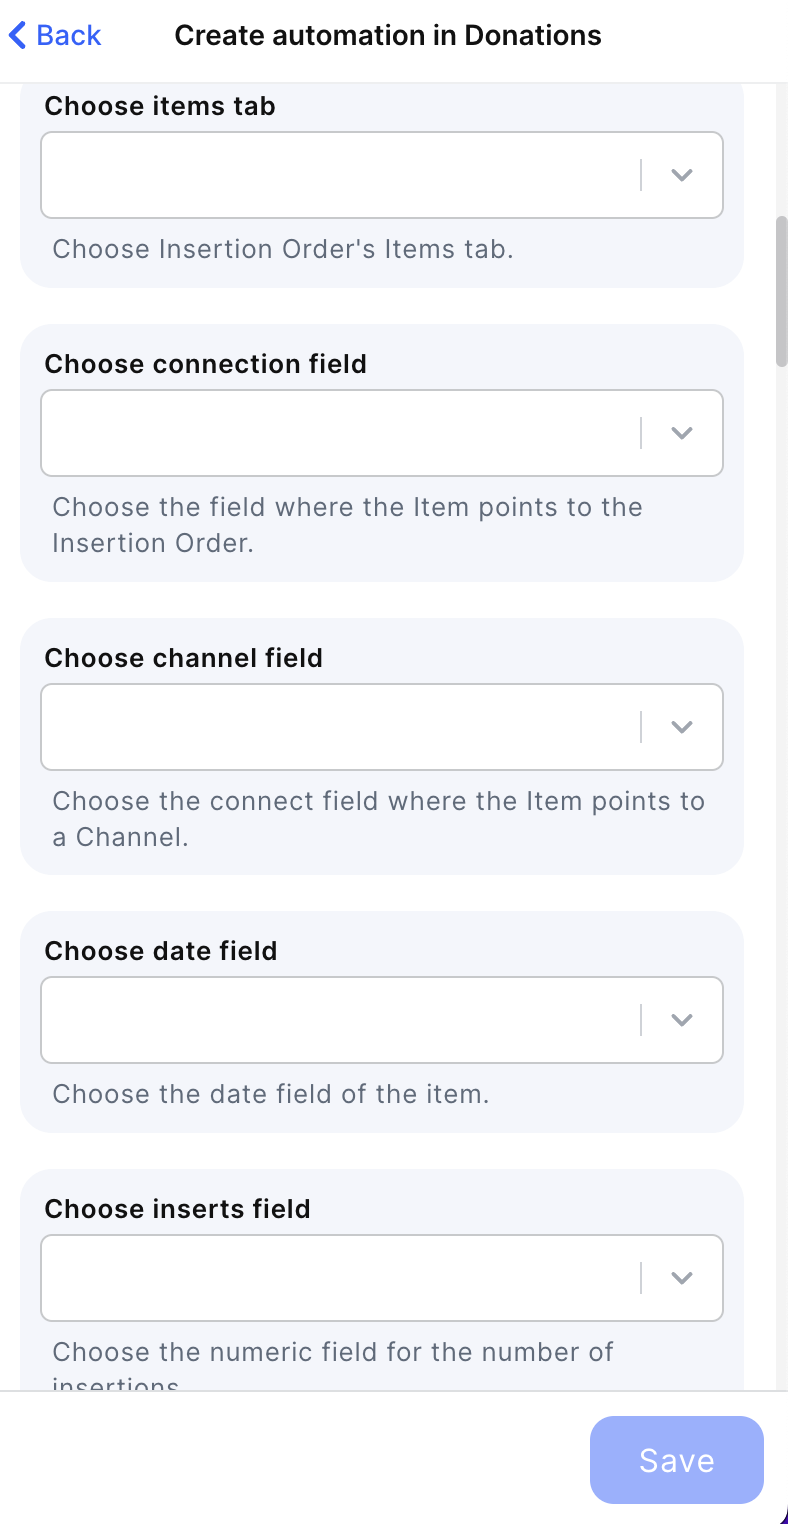
- Choose items tab:
- Choose Insertion Order's Items tab.
- Choose connection field:
- Choose connection field
- Choose channel field:
- Choose the connect field where the Item points to a Channel.
- Choose date field:
- Choose the date field of the item.
- Choose inserts field:
- Choose the numeric field for the number of insertions.
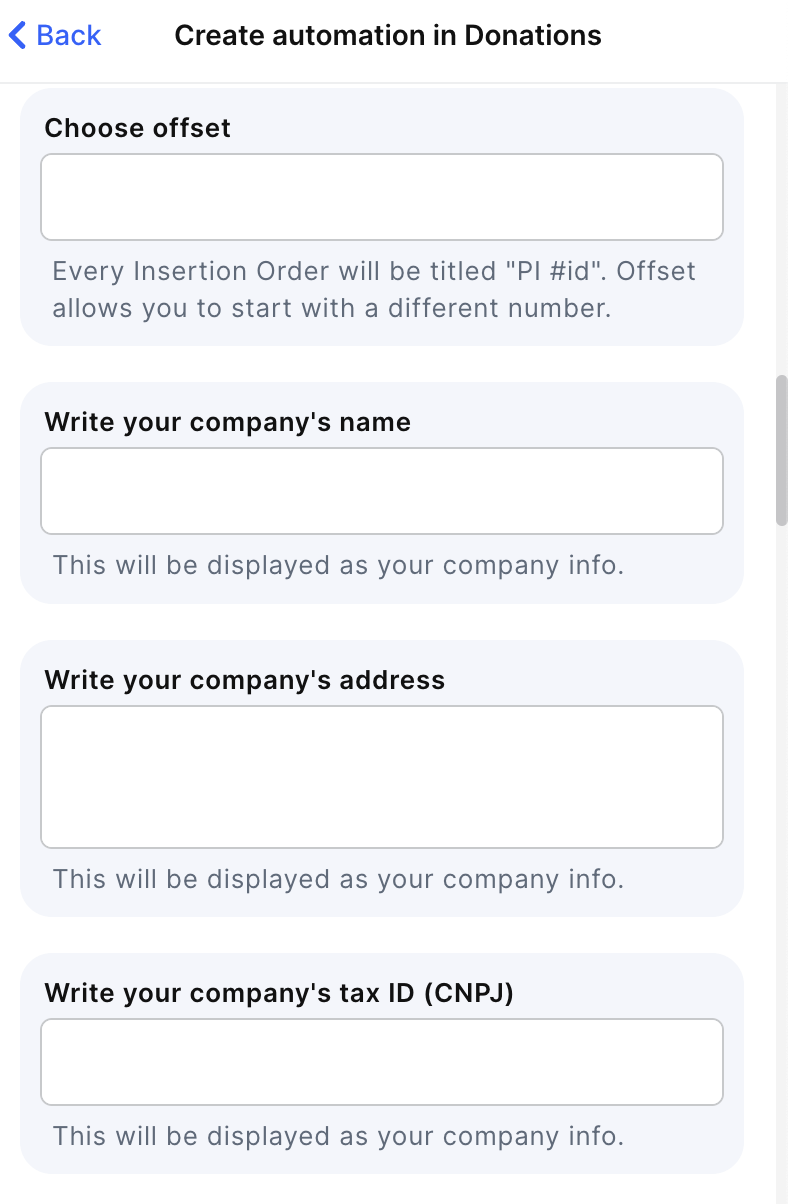
- Choose offset:
- Every Insertion Order will be titled "PI #id". Offset allows you to start with a different number.
- Write your company's name:
- This will be displayed as your company info.
- Write your company's address:
- This will be displayed as your company info.
- Write your company's tax ID (CNPJ):
- This will be displayed as your company info
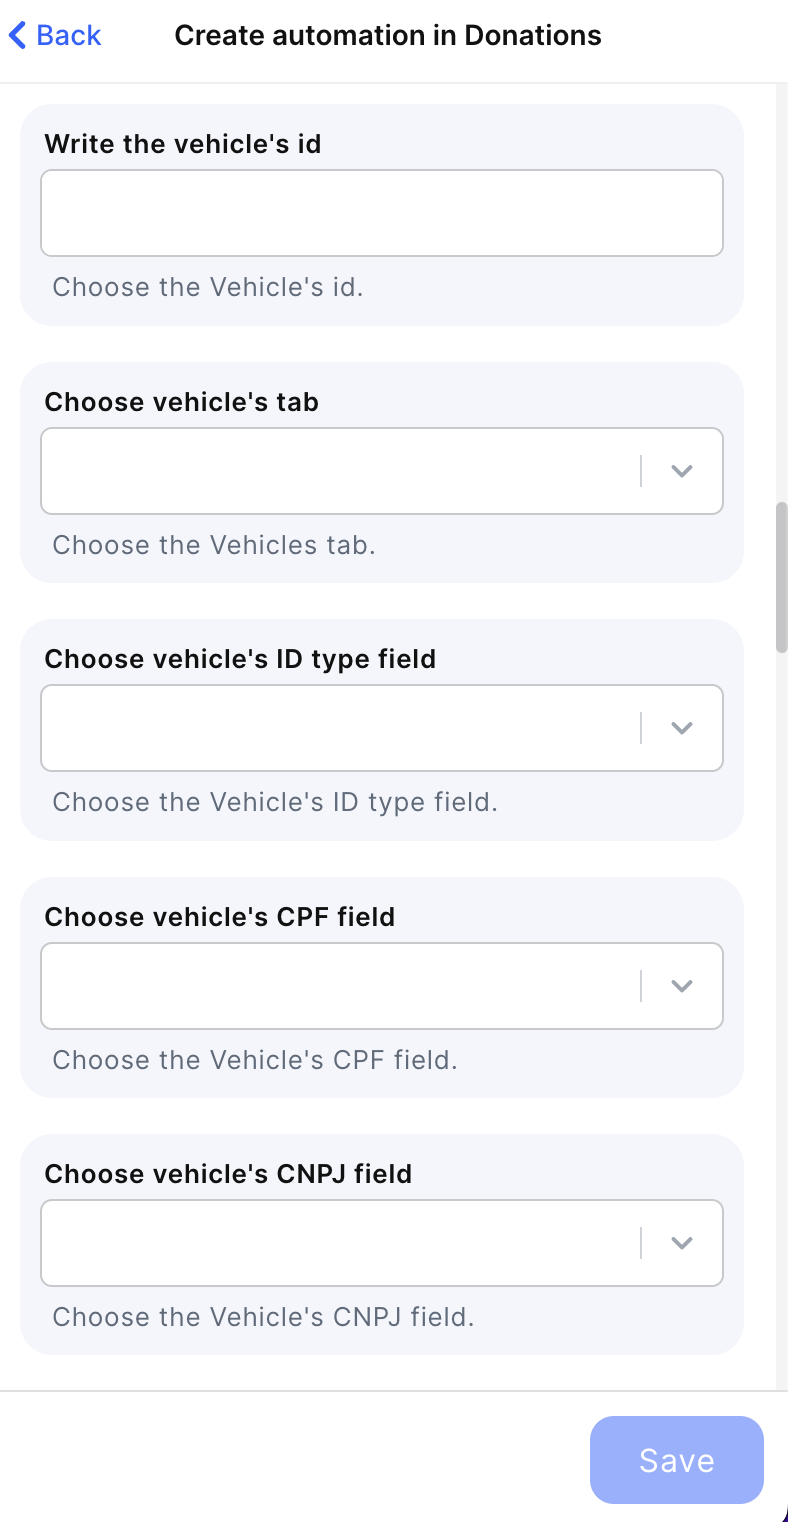
- Write the vehicle's id:
- Choose the Vehicle's id.
- Choose vehicle's tab
- Choose vehicle's ID type field
- Choose vehicle's CPF field
- Choose vehicle's CNPJ field
- Choose vehicle's address field
- Choose vehicle's email field
- Choose vehicle's phone field
- Choose vehicle's municipal ID field
- Choose vehicle's state ID field
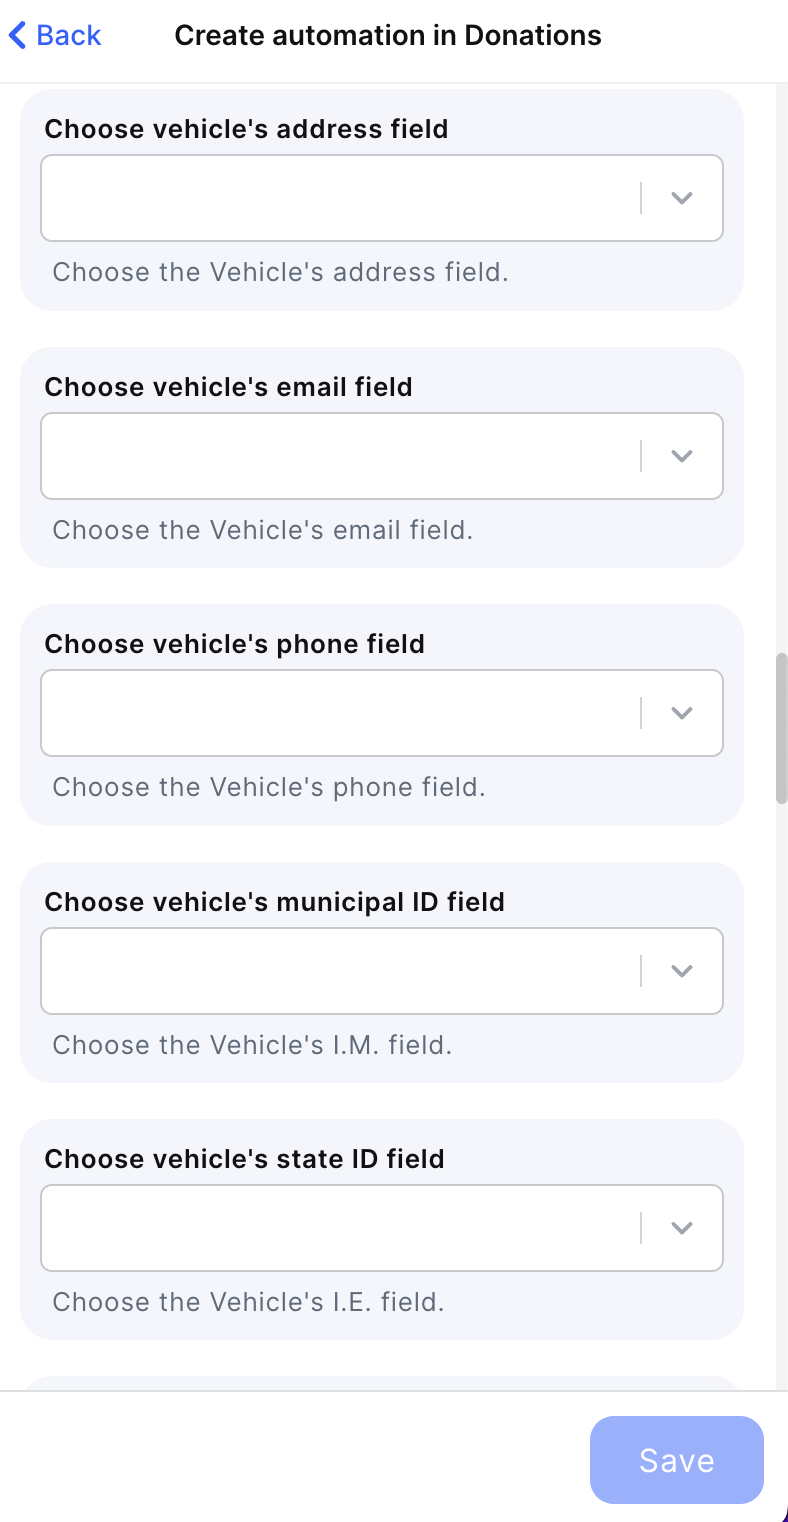
- Choose vehicle's signee field
- Write the client's id
- Choose client's tab
- Choose client's CPF field
- Choose client's CNPJ field
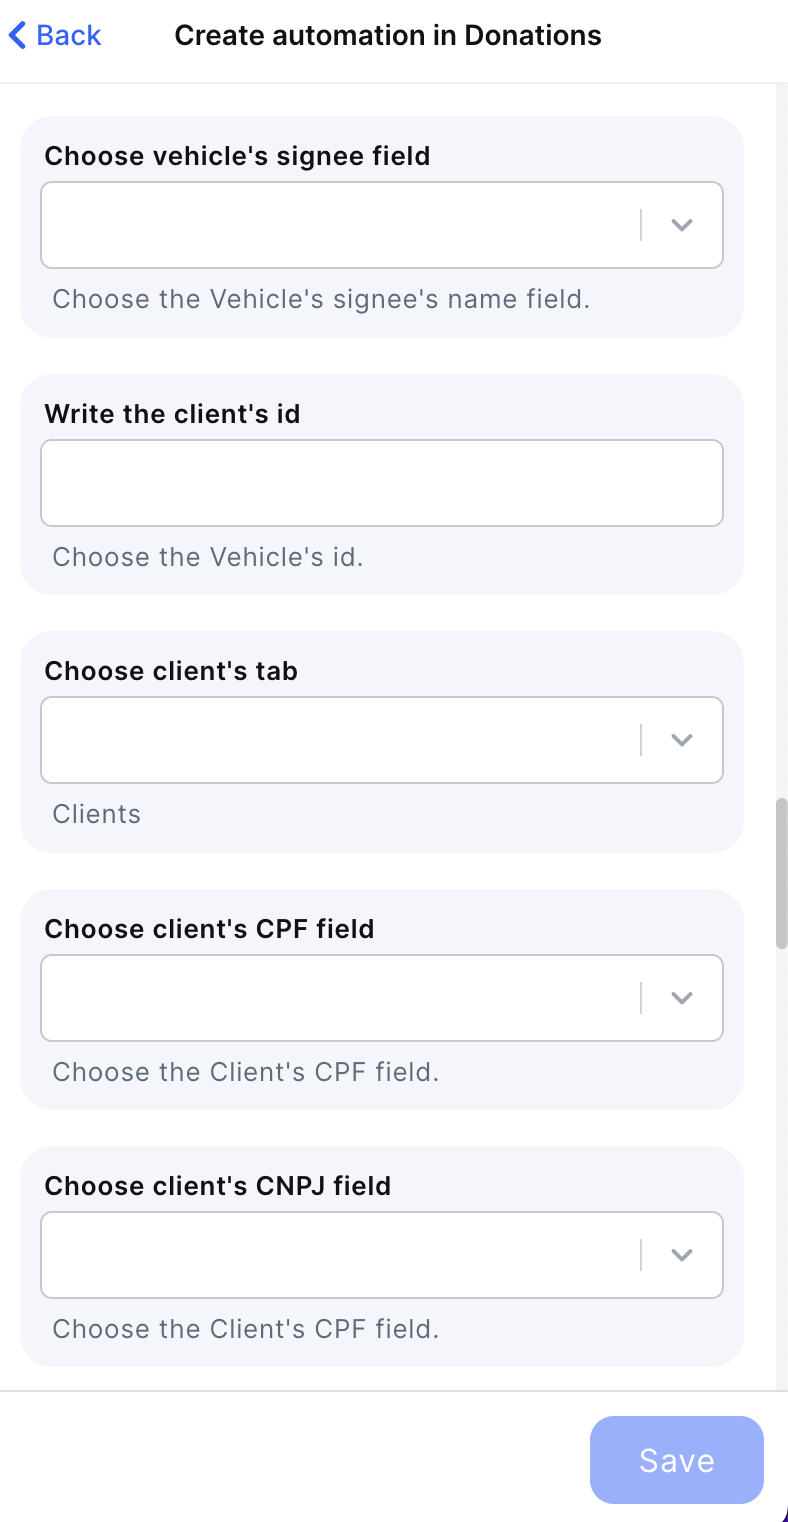
- Choose client's address field
- Choose client's email field
- Choose client's phone field
- Choose client's municipal ID field
- Choose client's state ID field
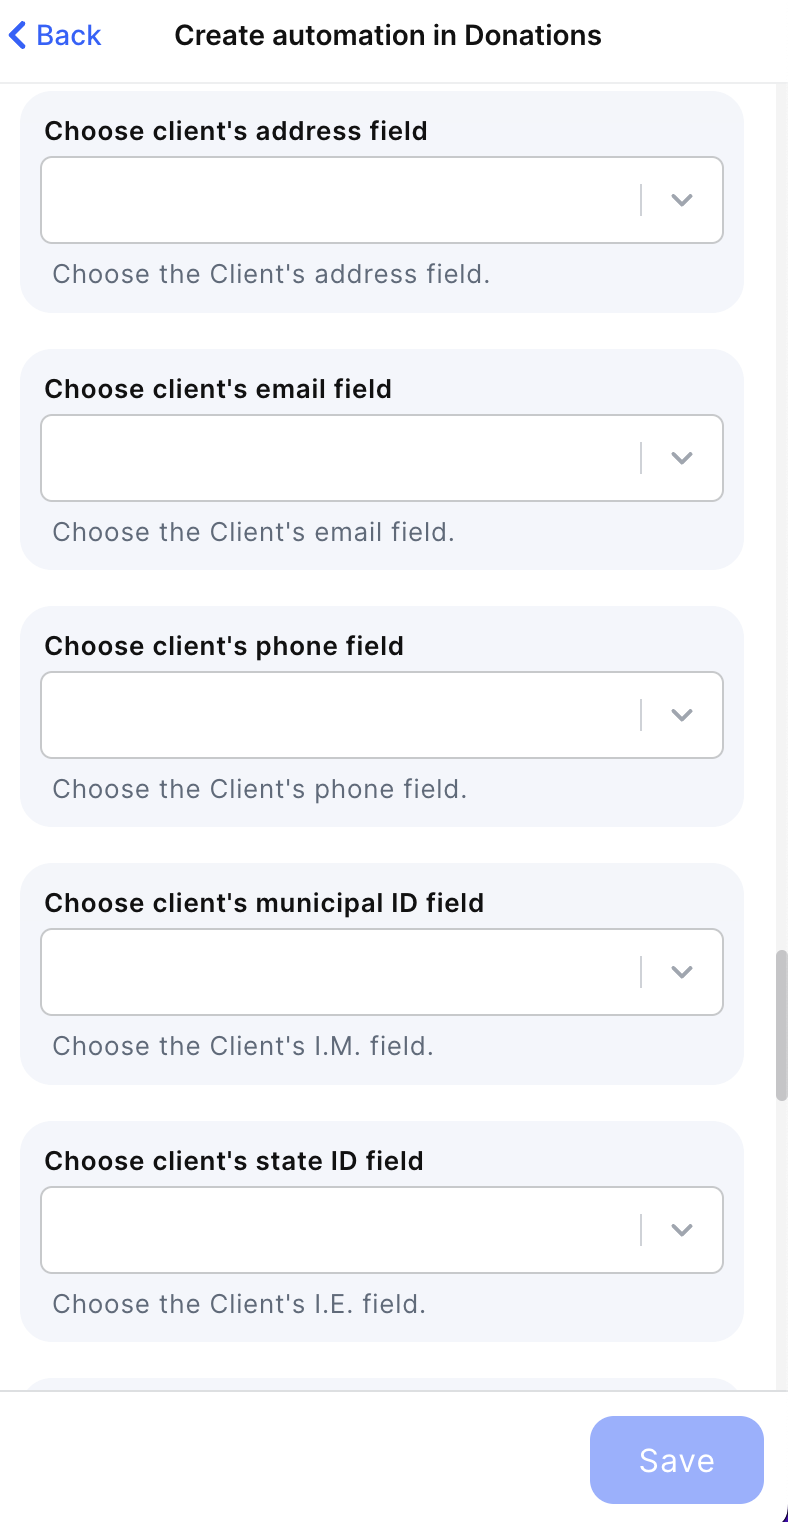
- Choose client's ID type field
- Write your company's signee name
- Choose total amount field:
- Choose the field for the full total amount to be invoiced.
- Choose discount field:
- Choose the percentage field for discount/commission.
- Choose invoice to field:
- Choose the single option field for whom to invoice.
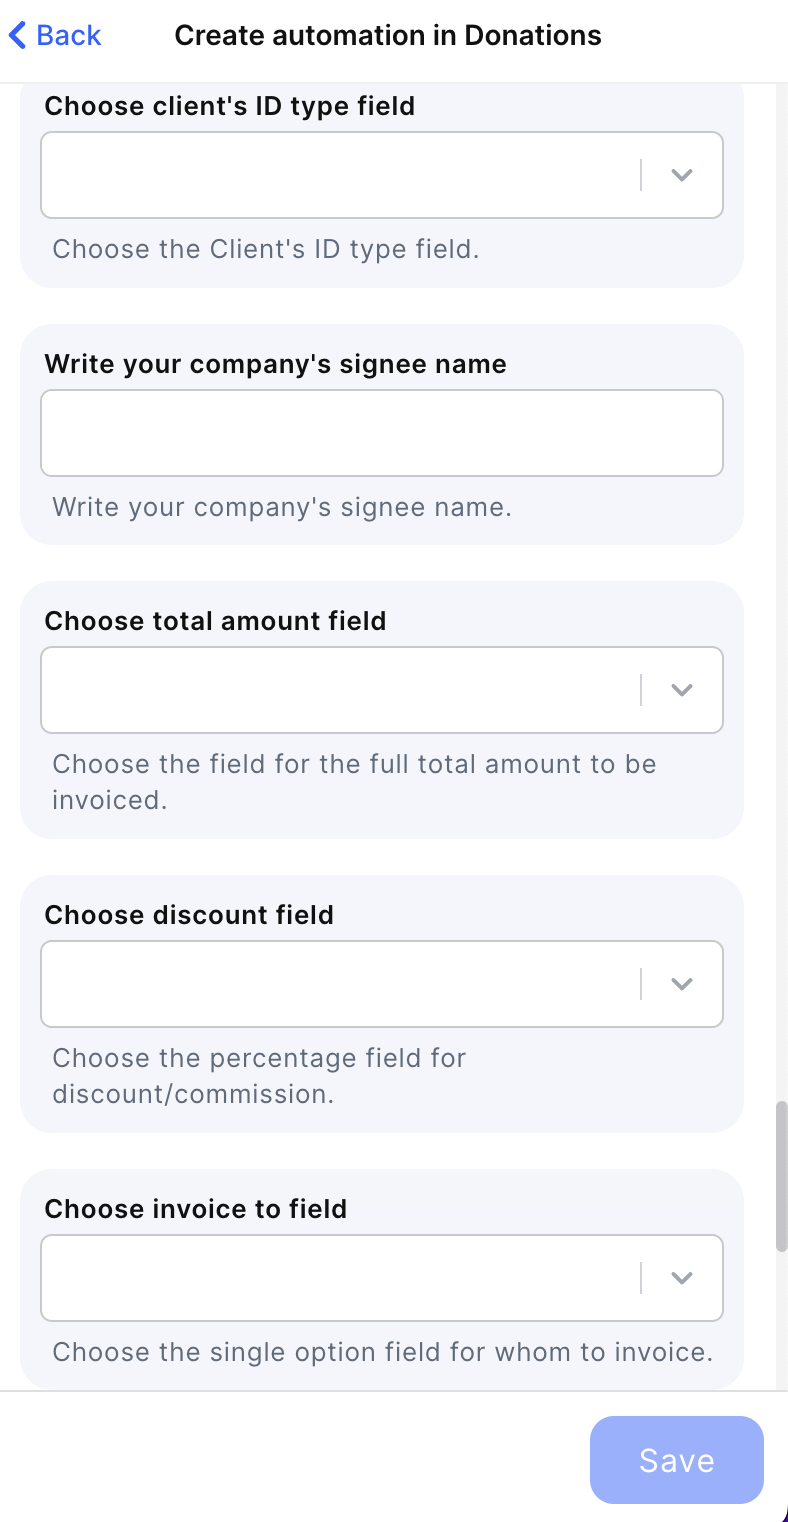
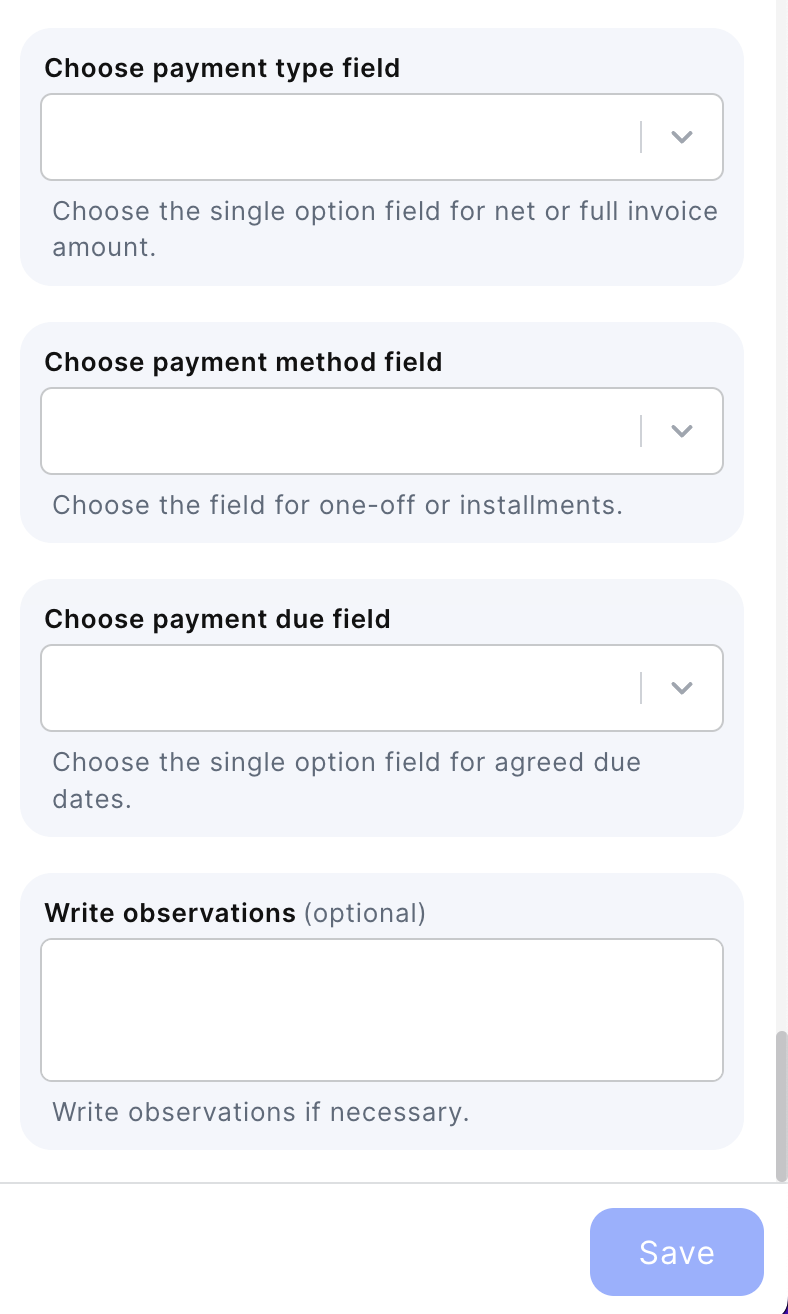
- Choose payment type field:
- Choose the single option field for net or full invoice amount.
- Choose payment method field:
- Choose the field for one-off or installments.
- Choose payment due field:
- Choose the single option field for agreed due dates.
- Write observations(optional):
- Write observations if necessary.
Click on save
Updated 3 months ago
